I needed to add a simple temperature and humidify sensor to add to Home Assistant, both for my information and for various automations.
At first, I went with the Aqara temperature and humidity sensor, but they were too unreliable with my setup. Even if I can get them to pair, they often will drop after a few hours if they didn’t pair with the right repeater. They will also drop off sometimes if we lose electrical power for long enough and the repeater they used is no longer available, so I have to start pairing all over again.
I started looking for a solution, assuming that small battery-powered ZigBee would always have those kinds of limitations and that I should go with a solution with a power supply, but I didn’t find any ZigBee product that fit those criteria. I ended up using ESPHome, which allows you to add a ESP8266 microcontroller board to Home Assistant using its built-in WiFi.

I’m slightly disappointed having to go with WiFi instead of ZigBee for part of my network, but it’s easy to integrate with the rest of the devices in Home Assistant and I already meant to improve my WiFi coverage anyway for a few hard to reach places.
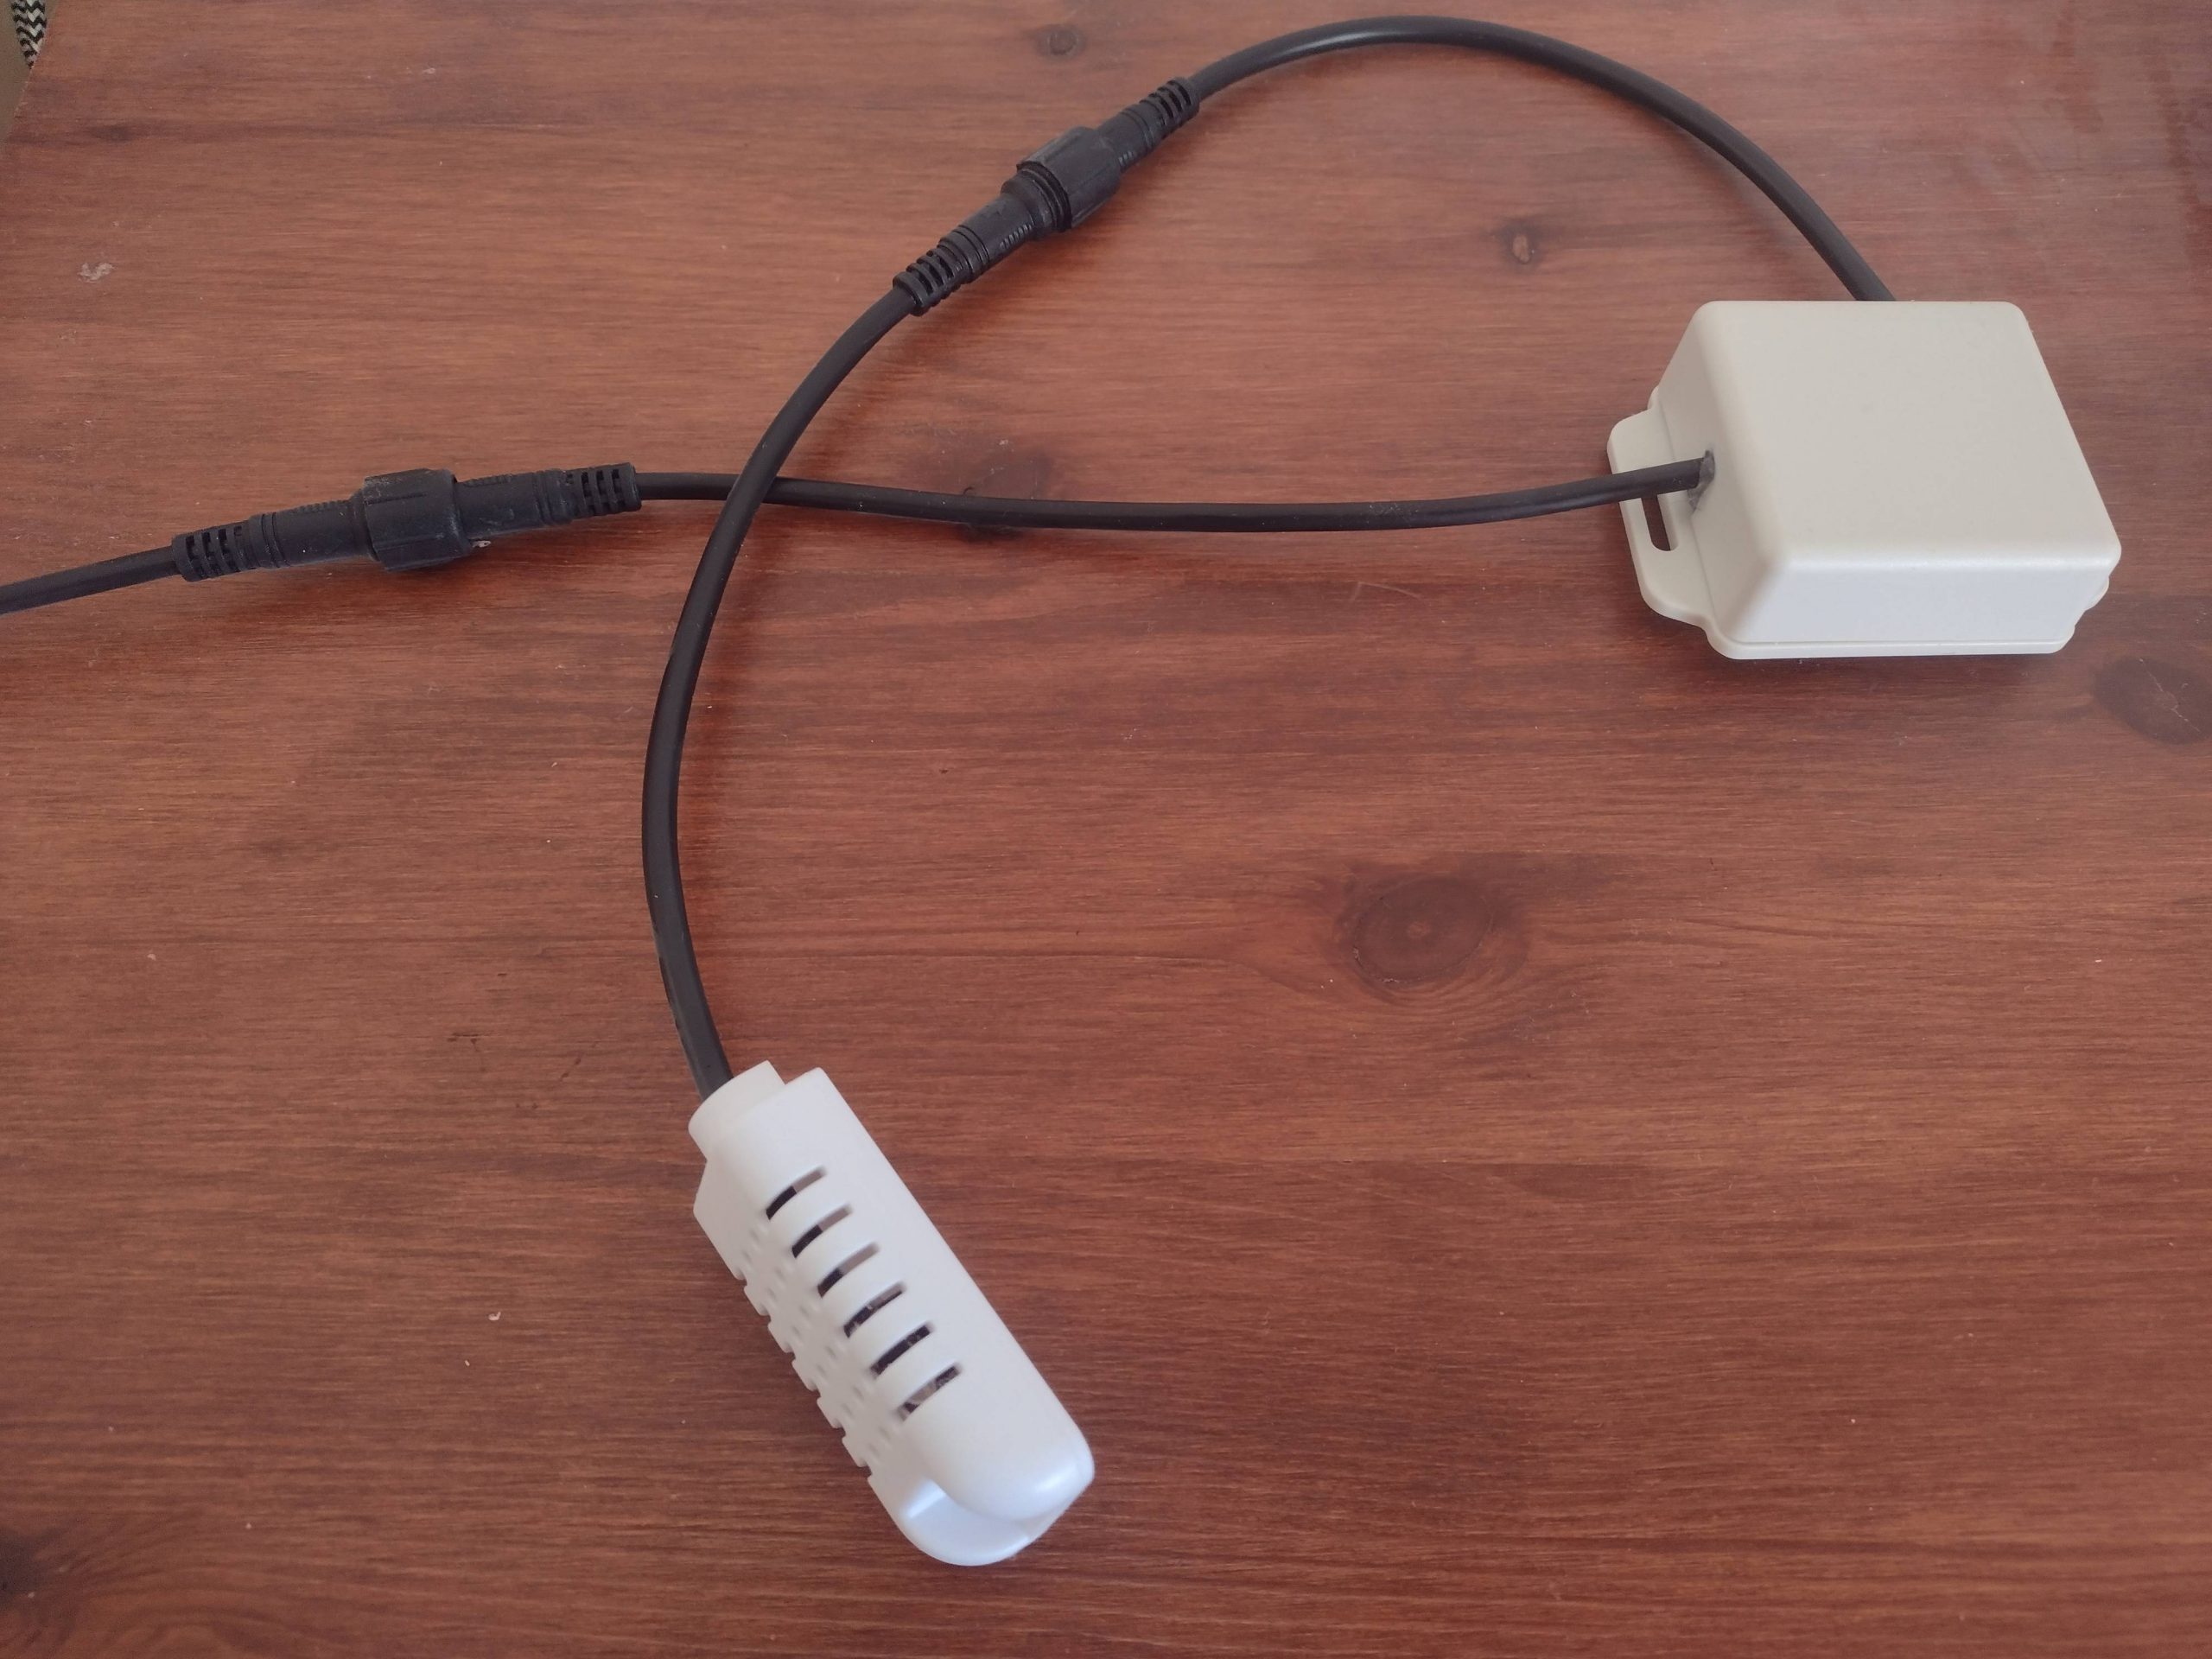
I also already had all the hardware I need to make it work: a previous project I did was a small ESP-12F PCB board with a BME280 connected over i2c, which is a sensor supported by ESPHome. You could also wire a sensor with a ESP8266 development board according to the schematic in that post to get the same result. If you don’t need the humidity sensor, the BMP280 is a lot cheaper, uses the same pins and is also supported by ESPHome.
Adding your board to ESPHome
To connect the hardware to Home Assistant, you must first install ESPHome from the Supervisor in Home Assistant. Once it’s installed, you need to upload a firmware prepared by ESPHome to the board from the configuration you set. You don’t need to create any custom code yourself in the microcontroller.
First, add the device to ESPHome using the New Device, name it and chose the type of your board. Since I had a custom board, I used the ESP8266 option. For the first device you create, it will also ask for your WiFi network name and password. Don’t upload to the board right away since the configuration is still missing some information. The board will then be added to the list of devices; go to Edit to add the missing information.
For a custom board or one that is not listed, you must define which GPIO on the ESP8266 will be used for the i2c communication, since the ESP8266 can use any GPIO and ESPHome can’t guess which one to use. Add this to the end of the file with the right GPIO numbers for your board:
 i2c:
  sda: 2
  scl: 14
  scan: true
And to configure the BME280 so the temperature, humidity and pressure show up as entities in Home Assistant, add the following at the end of the configuration:
sensor:
  - platform: bme280
    temperature:
      name: "BME280 Temperature"
      oversampling: 16x
    pressure:
      name: "BME280 Pressure"
    humidity:
      name: "BME280 Humidity"
    address: 0x76
    update_interval: 60s
Now, you can back to the Install option to flash the board. Since I was not near my Home Assistant hub, I choose to upload using the option Plug into this computer. It will generate a firmware file for you. Download it, and then open the ESPHome Web page that will allow you to complete the upload with that firmware.
Before pressing Connect and launching the upload, the board must be plugged in the computer the same way you would to program it in another program such as Arduino IDE. There must be no other program using the USB port as a communication port, such as the Arduino IDE or another upload tab.
Also, many boards require toggling a switch so the ESP8266 is booted in programming mode, instead of the mode that runs a program. You should reset the board if you had to toggle the switch since it won’t change once it has booted.
You can then press Connect, choose the file you just generated and it will be loaded. After a few instants, it will connect to your WiFi and show up as online in the ESPHome dashboard.
To complete the setup and add the new informations as entities in Home Assistant, go to Configuration/Devices and the ESPHome tile will allow you do add the new entity and device. You can then use it like any other entities to create automations or to display values on your dashboards.