[Cindy] My husband also create his own electrical and control projects. Here is an article he wrote about modifications he did on our snowblower, enjoy!
Overview
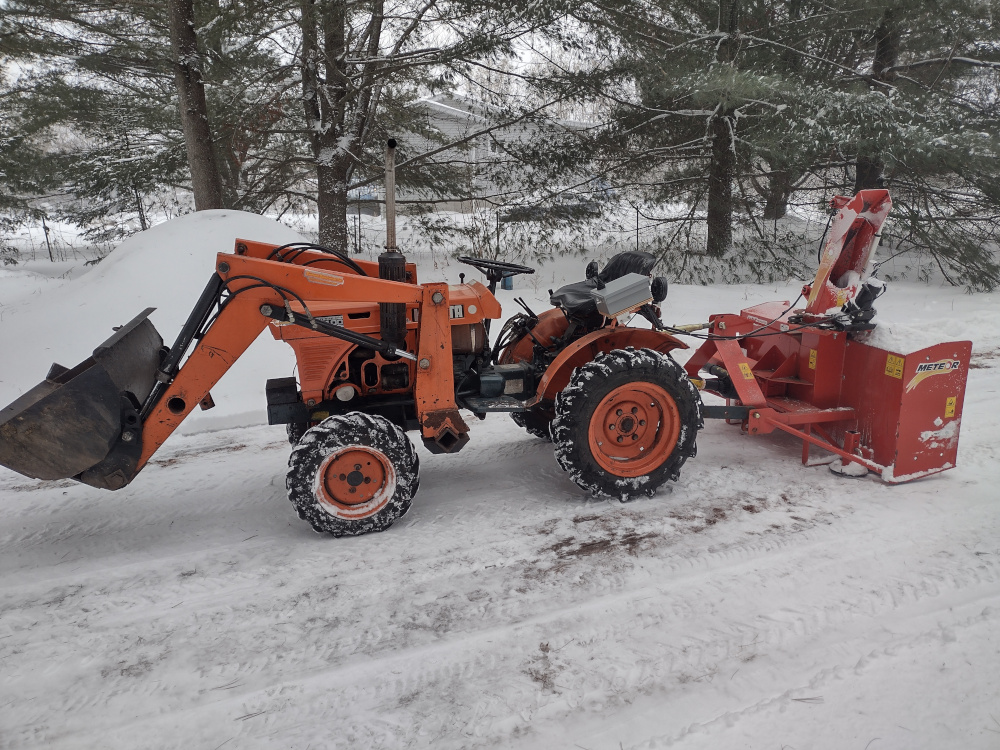
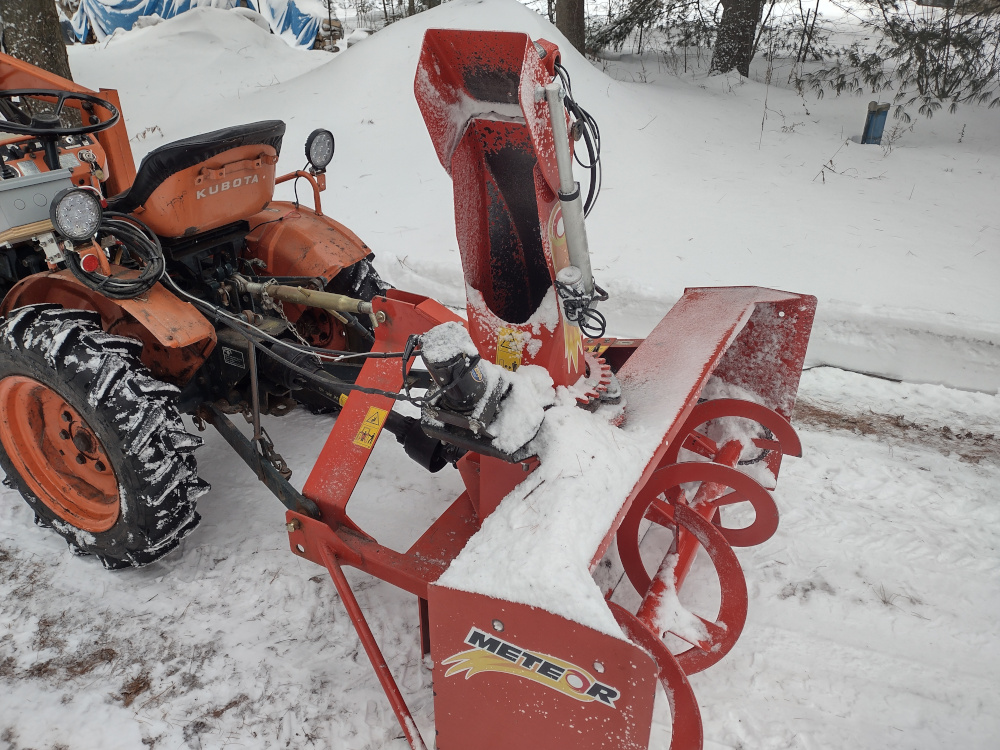
When we bought the house a few years ago, I was thinking of using a snowblower winter on my ATV. However it didn’t work most of the time and I had to fight with the machine to get it to work. A snowplow on an ATV to clean the snow around the house is not realistic either. So I sold it and a bought a PTO MK Martin Meteor snowblower for my old Kubota B6100 tractor. It’s not that powerful but it’s working fine.
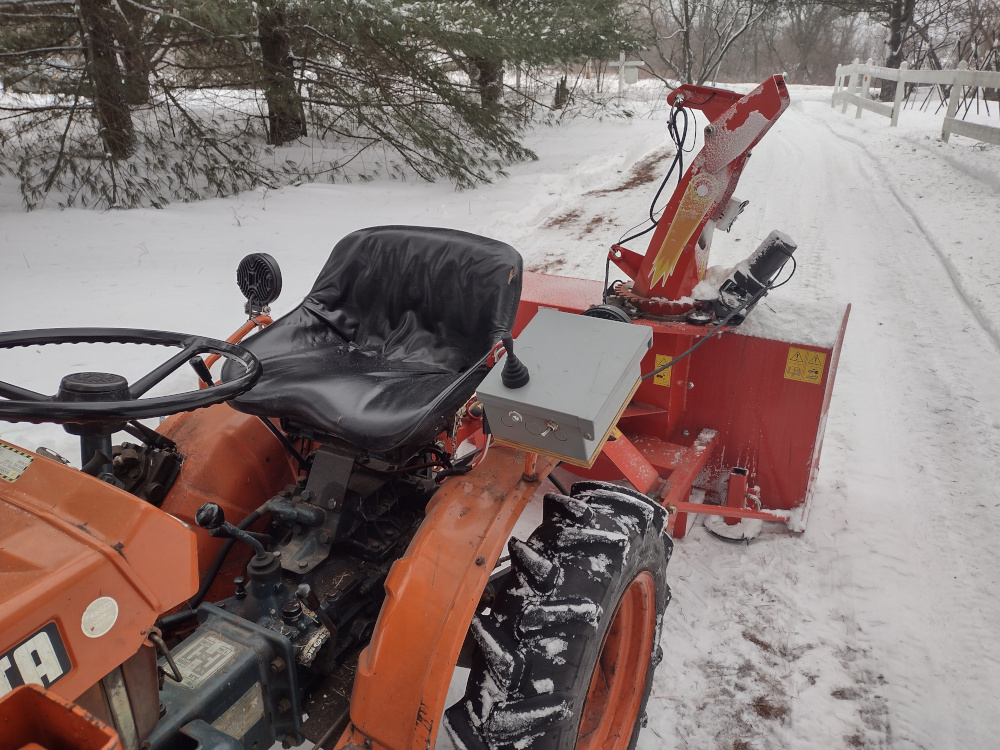
It came with a modified 12-volt winch for the chute rotator but without any actuator for the deflector. It’s not a great experience to work with a clutch tractor around the house or the farm barn without any command for the snowblower deflector. Also the chute rotator command switch was too difficult to use while operating the tractor.
Hydraulic equipment to do that is expensive and too complicated for a small tractor like mine: any option from the tractor shop is too expensive. So I made a command station and a chute actuator myself. Since the rotor itself was already connected to the tractor battery, I only needed to add a 12-volt actuator.
Part list
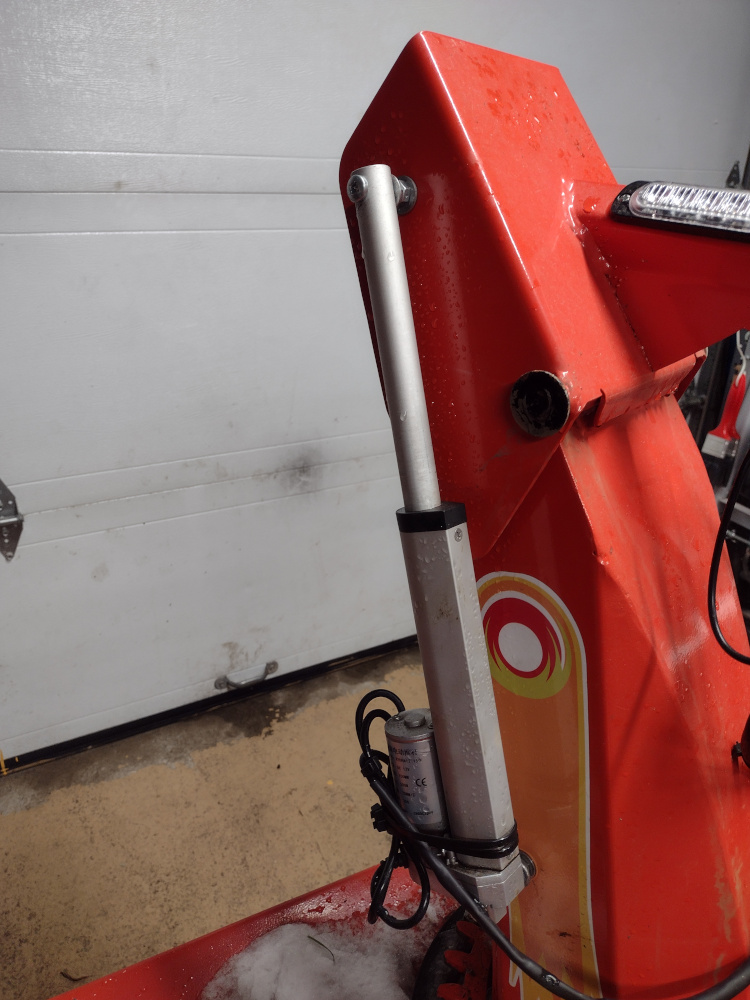
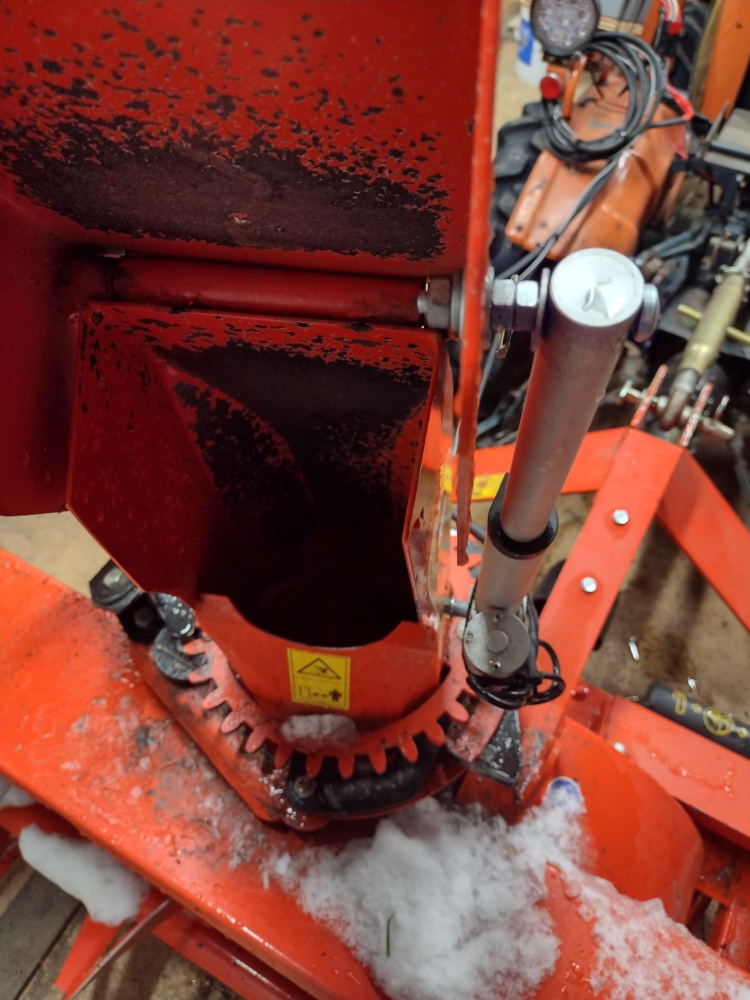
Linear Actuator for the deflector
I found a durable and waterproof 12-volt linear actuator around 150 mm in length on Amazon as the base of this project. I installed it with simple bolt on the side of the chute and a not too tight bolt with a washer (for the movement) on the deflector. That has worked fine for 6 years now.
Electrical setup of the command station
The problem with the winch and the linear actuator is that the power needs to be reversed to control the actuator: if I want the motor to rotate the chute to the left, the voltage sent from the control panel to be positive and negative, but for the right it needs to be negative and positive. It’s why I use two 12-volt JD1914 car relays (with their socket) with normally open and normally closed input for each motor.
Here is a wiring diagram for the system:
I put the controls in a waterproof PVC box to the left of the driver seat (I’m left-handed). The wire between the command station and the snowblower needs to be easy to disconnect since I need to be able to remove it easily to attach something else to the PTO, so I used SAE connectors.
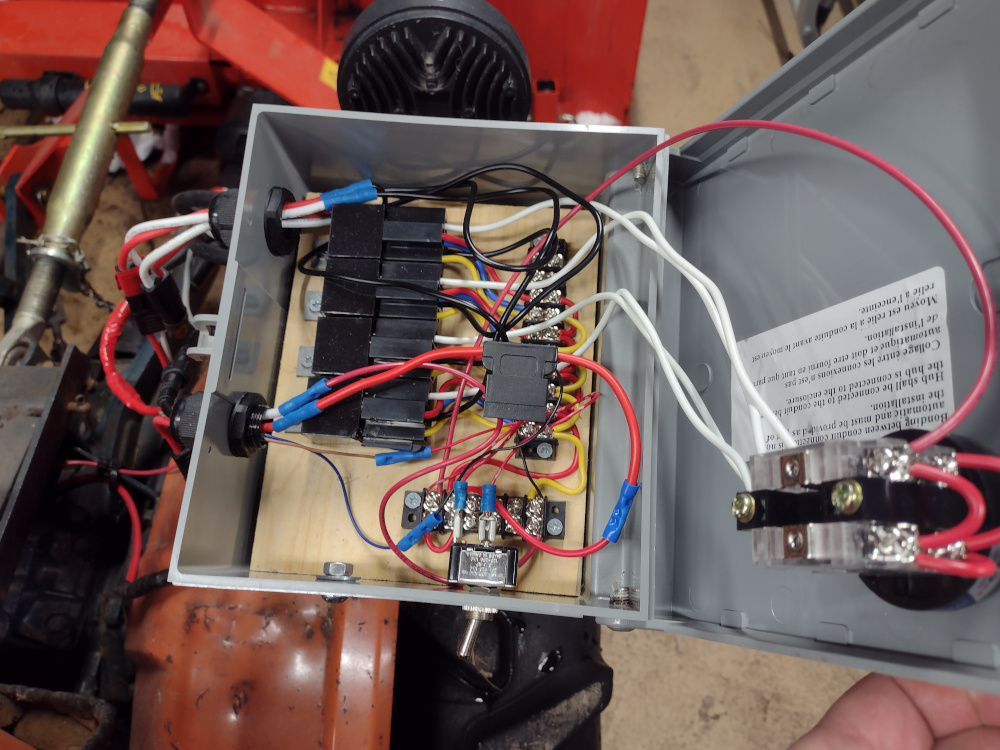
I used a 4 position joystick (4 NO HKAI-41Z04) for the command station. It’s also been working really well for many seasons now.
The joystick is a momentary switch, so you can’t send electric signals in two places in the same time. I also needed to protect the electric system of the tractor with a fuse. The fuse does not need to be rated as high as recommended for the winch or the linear actuator, since there will be almost no force applied to the motors.
I connected the two wire of the command station directly on the positive and negative poles of the tractor battery; there is no need to pass by the starter and it’s safer not to connect the negative to the tractor body.
Now I can command the position of the chute and of the deflector with a single hand and leave my other hand free to move the steering and the clutch lever safely.