Over the summer I’ve started automating my home and can’t stop automating! It’s been running for a few months now and I’m pretty satisfied with the result, so it was now the time to share it.
What got me started is that here in Quebec, our heat is mostly electrical with baseboards, so one thermostat for each of them is needed. I previously had Aube programmable thermostat : they’re not bad, but the scheduling you can do is limited. Another problem is that they are plugged to the main power, so they will lose their programming if the power goes off. There are internal batteries in them, but those are not good forever.
The solution I settled on was rolling out my own system with Home Assistant, and controlling the whole thing from a Raspberry Pi cluster. That way, if the power goes down, the programming is still in the Raspberry Pi and won’t just disappear into thin air.
In a few months I only had to reboot it once due to a bug, and it never lost power since it’s on the same UPS as my computer.

It was important to me that the setup did not require the Internet to work since it controls heating, and you don’t want to lose that when it goes down to -20 C (around 0 F) in the winter. I was looking for something more resilient, not less! In fact, I was proved right after completing the first build: a few days later the Internet cable going into the house was torn, leaving us without an Internet connection for many days (it was loads on fun with remote working).
Also, if the whole thing even goes down, the Sinopé devices I choose can also be controlled manually on the device without an application. There is no requirement to go through the Home Assistant control pane to change a temperature or switch on a light.
Raspberry Pi as a hub
To avoid using a proprietary solution that depends on the Internet and that is compatible with a limited pool of devices, I instead used the popular open source tool Home Assistant as a hub. In my case, Home Assistant is installed on a Raspberry Pi 4, which is one of the suggested options in their documentation.
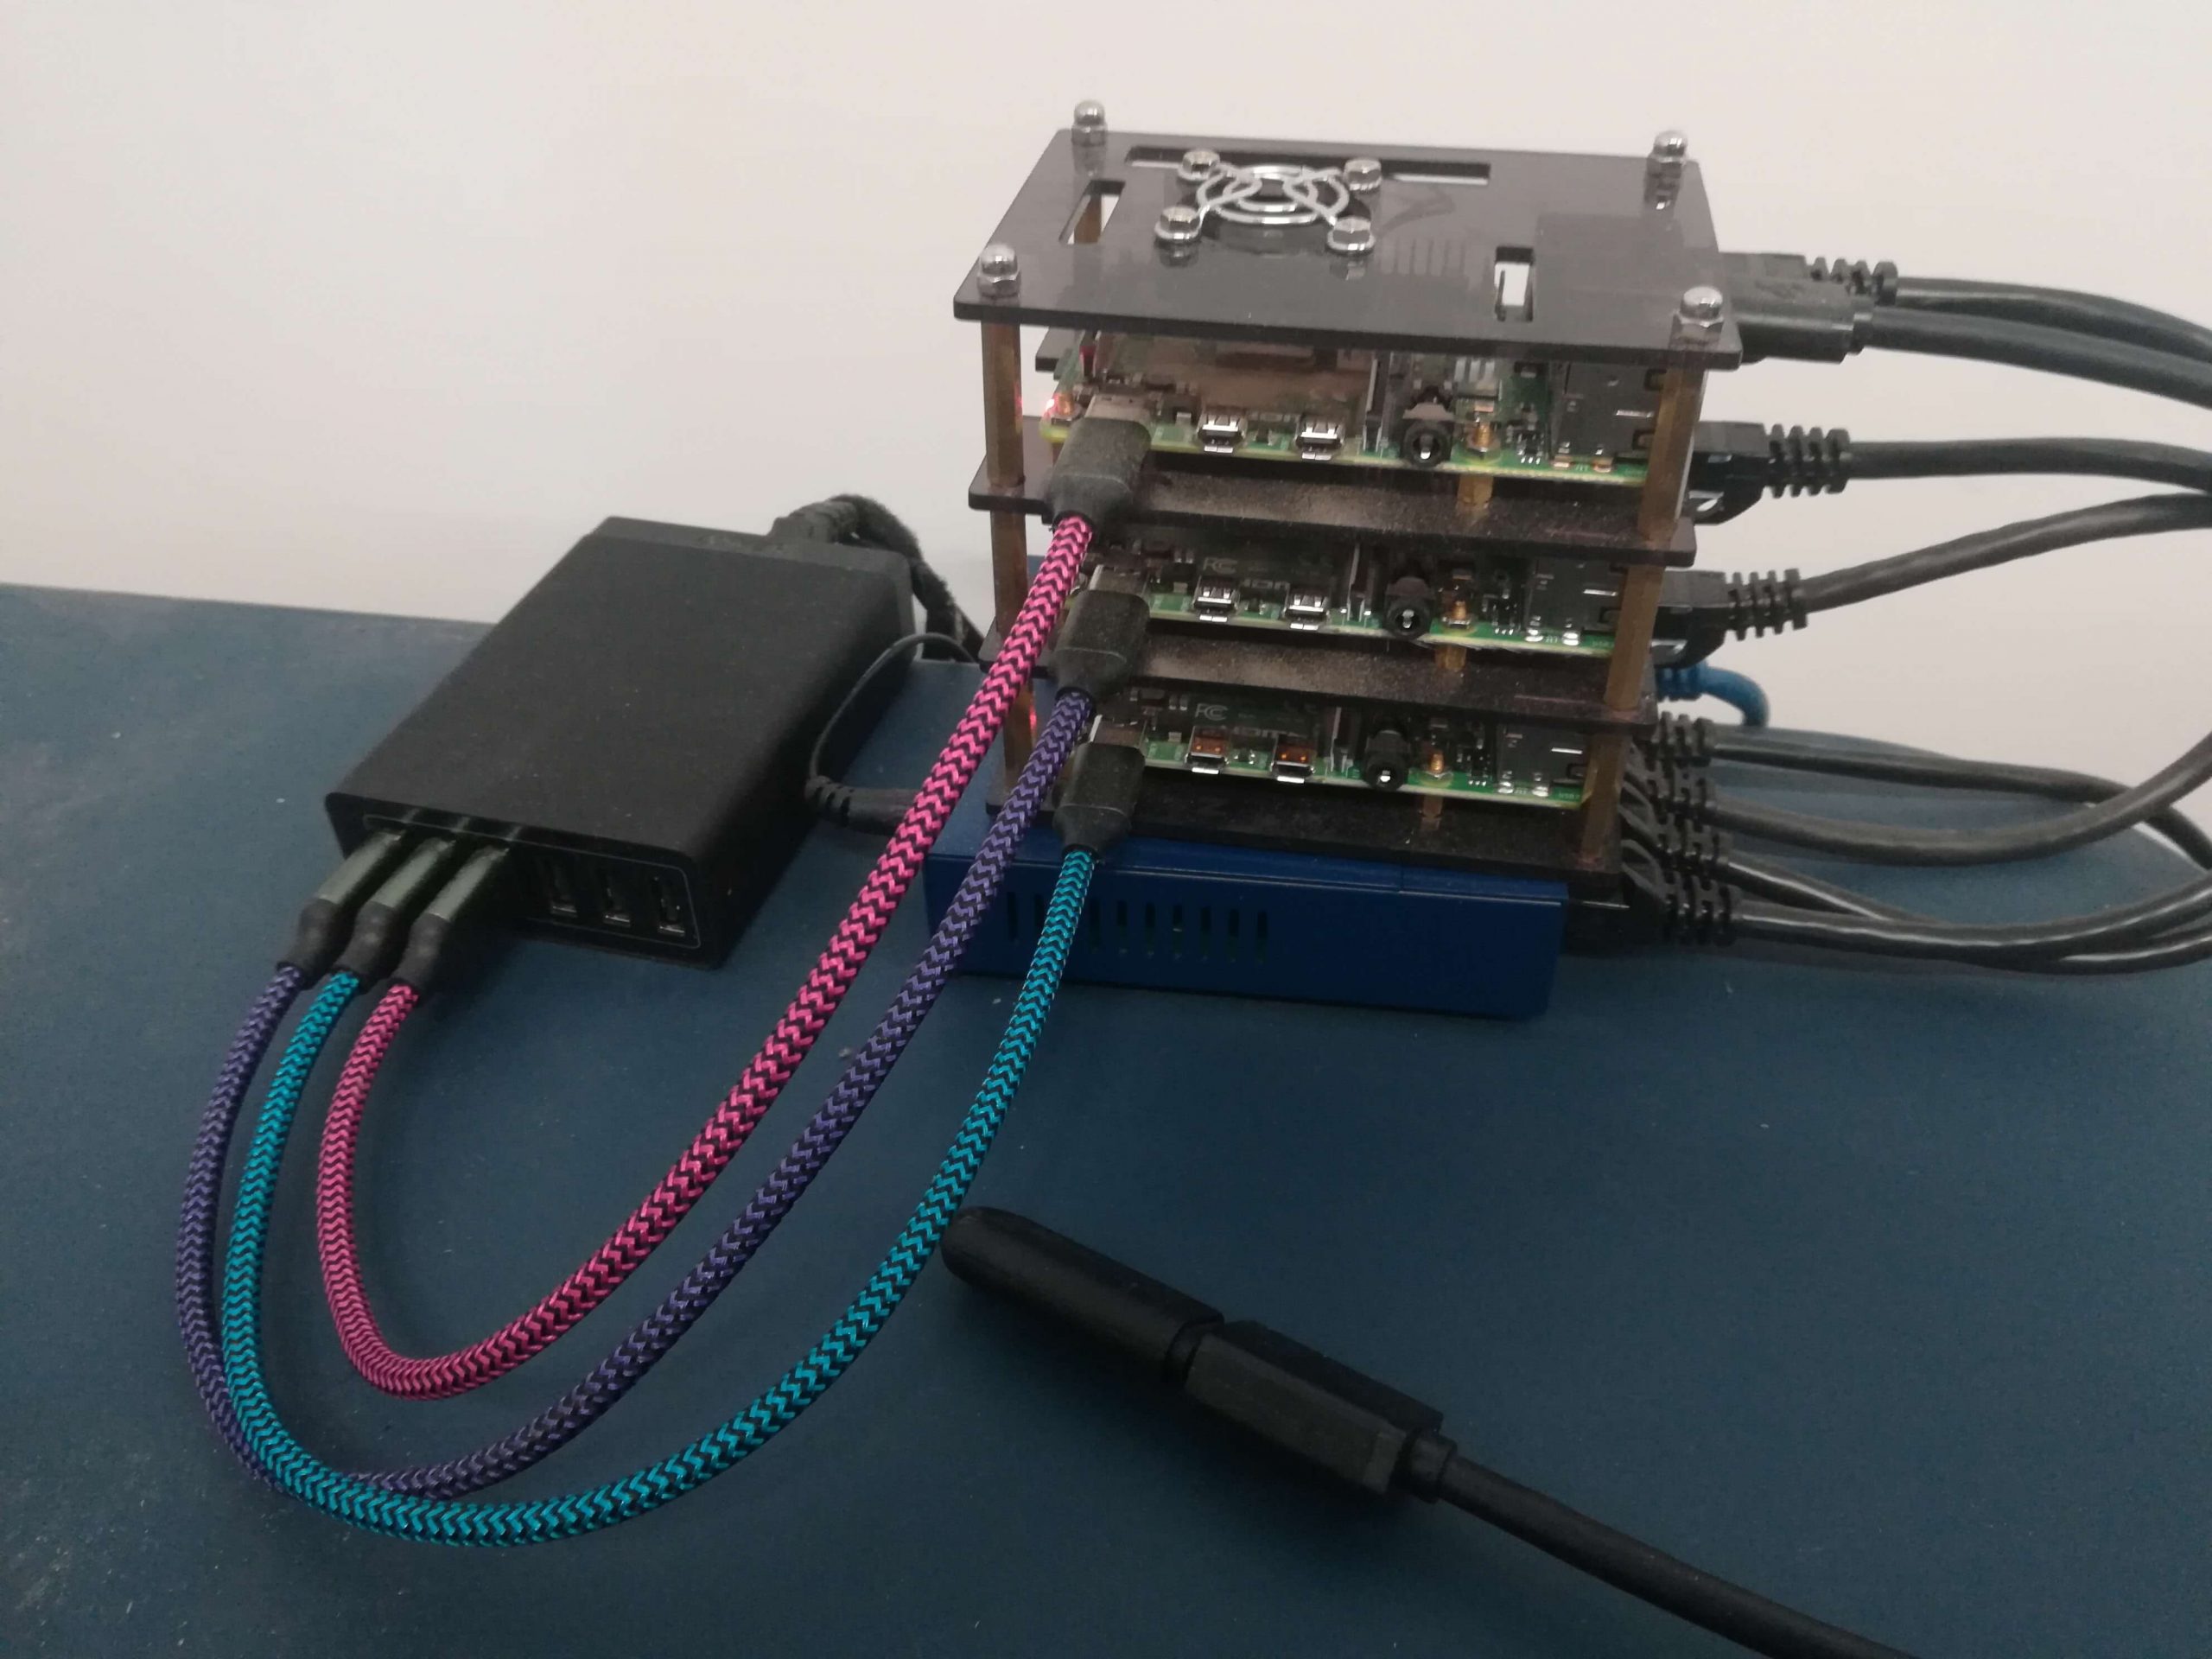
I built a cluster with three Raspberry Pi 4 for this in the hopes of playing with Kubernetes, but that was a lofty goal given how the Home Assistant installer works (more on this later). I ended up using only one of the Raspberry Pi 4 for Home Assistant and the rest of the cluster for other projects: you can never have too many Raspberry Pi anyway. It was also a bit of an excuse to get my own cluster, but don’t tell the husband ;-).
Here is the hardware that went into it:
The cluster runs the Ubuntu server 64 bits distribution without a desktop interface, and I access it using SSH in Windows Subsystem for Linux (WSL).
I choose to go with Ubuntu since I built this just before the Raspbian 64 bits came out, and the 64 bits thing was pretty important for me because I wanted to be able to run recent versions of Mongo DB for my temperature logger project.
Minimum required for the hub
I won’t go into a lot of installation details for the cluster in this post since it’s not needed for Home Assistant. A single Raspberry Pi 4 B with 4GB of RAM included a SD card and a power supply is enough, such as this kit that was put together by CanaKit.
I would go with the 8 GB version if you prefer to also install a graphical interface and don’t want to have to do everything from the command line.
You should also add a SD card reader if you don’t already have one, and an ethernet cable if you would rather plug the Raspberry Pi in directly in your network instead of relying on your WiFi.
Home Assistant Build
All of the devices I purchased use the Zigbee protocol to communicate since it’s the most open source friendly of the bunch. It runs on similar frequencies as Wifi, but many Zigbee devices also act as relays in the mesh network. You can easily extend the range of your network just by dropping in a smart plug if there is a dead zone somewhere.
Zigbee has its own pairing solution that involves opening the hub to new devices and then triggering a connection sequence on the new devices, so it doesn’t require having to download an extra application and having it join your network like those cheap Wifi plug that you may have gotten as a tech gift at some point.
Also, to act as a hub, the Raspberry Pi will also need to join the rest of the Zigbee network, but it doesn’t support Zigbee natively. Fortunately, you can purchase a device that does this that connects to a USB port on the Raspberry Pi, such as the Conbee II stick.
The build includes the following, in addition to the cluster:
Just be careful when you shop: many devices are also available in other protocols such as Wifi or ZWave.
I had the best results using Zigbee2MQTT with the Conbee II stick as the hardware and the USB cable as an extra antenna. Zigbee2MQTT support more devices than the standard Conbee software. It’s also open source, so it’s possible to add support for more devices (I had to submit a pull request for the smart plug). Hardware-wise, it has more range than the few cheap CC2531 dongles I tried, even after attempting to solder an antenna on the dongle.
Once the dongle issue was solved, all the devices paired nicely and painlessly with the system and stayed there. It’s slightly harder to press the right buttons to pair the wall switches than the other devices, but nothing terribly hard.
Home Assistant Setup
There are a number of installation methods and platforms supported for Home Assistant. The installation page (https://www.home-assistant.io/installation) has a breakdown, but in short:
- You can install it as an OS, and it will take over the whole system. If you want a dedicated machine and don’t wish to mess around, this is the installation method to use. It will also handle updates automatically.
- You can install it as a Docker container. That’s the option I was looking at to start with, but this installation method doesn’t allow for third-party addons, which you will certainly need.
- I ended up installing it as Supervised. It’s a mix of the two: it’ll deploy a few Docker container on your machine and manage them itself. The installation is not too hard, and you all have the features of the OS installation method without it taking over your machine. You’ll need to trigger updates yourself.
For Supervised, I used the instructions at https://github.com/home-assistant/supervised-installer on my Ubuntu installation. I already had Docker installed, so there were no extra dependencies needed.
After installation, the Home Assistant instance is available under the 8123 using the IP address of your machine. I also set my router so this IP would be fixed.
To get going, I also installed the following third-party addons in Supervisor. Each could have their own installation guide, but it’s a good starting point to a configuration that works.
- Zigbee2MQTT (required): Read messages from the Zigbee Conbee II stick and send them as MQTT messages to the specified broker (needs to be configured to use the conbee stick). Dresden Elektronik also have their own add-on for the Conbee II sticks, but it was not compatible with all my devices.
- Mosquitto broker (required): A message broken that will receive the MQTT messages and make them available to the rest of Home Assistant.
- Zigbee2MQTTassistant: A visual interface for Zigbee2MQTT, I usually use it to enable pairing, see the list of devices in a nice way with pictures, and take a look at the network map.
- File editor: Useful to edit your configuration file for Home Assistant.
- Portainer: This allows you to manipulate your Docker containers directly. Occasionally useful for debugging, I usually only enable it as needed.
- AppDaemon4: This also includes the installation of Schedy afterwards, which is a must have if you want to handle complex scheduling for thermostats. Home Assistant automations are good enough if you want to react a trigger, like “it’s 1 hour after sunset, close the lights”, but forget about things like “heat at 21 C between 8am and 10pm, but if the temperature is manually changed keep it there for 3 hours” that are easy in Schedy.
Next up, more specific Home Assistant automation and Schedy examples!