
I’ve done a few Arduino projects recently, and I’ve had to spend a bit of time figuring out a good workflow to edit my code in Visual Studio Code instead of Arduino IDE, and then use it to load the code using an ISP (in-circuit programming) header.
Why Visual Studio Code?
Arduino IDE works for tiny projects, but it doesn’t have all the productivity tools I’m used to in Visual Studio Code like the autocomplete and git integration.
The Arduino extension from Microsoft does most of the heavy lifting for a standard workflow with an Arduino development board. You’ll have menus in the status bar to choose the right programmer and board like in the Arduino IDE, and you can also download libraries from Visual Studio Code.
The only thing you’ll want to add is autocomplete: when importing an external library you’ll need to adjust the paths in the includePath of the c_cpp_properties.json file generated by the extension to point to the directory containing the library.
* Tip: If you have an old install of the extension, the previous version uses Arduino IDE 2.0, while the new one uses a bundled version of Arduino CLI. When I upgraded both my Arduino IDE to 3.0 and the extension, the extension stopped working since it was now pointing to 3.0. You’ll need to change the settings of the extension to use the built-in Arduino CLI so it works again.
Why ISP?
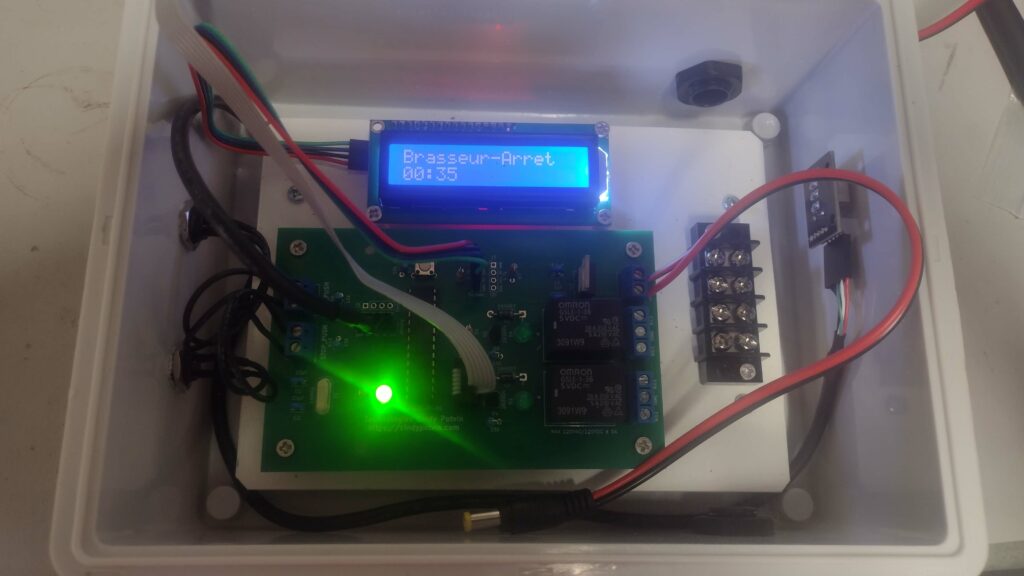
I like to build my own custom PCBs once I have the basic design with an Arduino. ISP is a lot simpler to implement since it doesn’t require having an USB to serial chip, it’s just an extra header. It won’t give you the all in one debug, but you can still access the serial pins as needed if the project doesn’t have a screen to debug on. Also, when I design a board, I make sure to always expose the i2c and serial pins in my design just in case I need the header at some point.
Programming with ISP
Programming with ISP is not as seamless as programming an Arduino development board. VSCode only has support for programming with a serial port, which is the standard method used for development boards that comes with a USB cable and a USB to serial chip.
I tried working with the Arduino IDE on the side and use it only for programming, but it doesn’t detect changed files. I would have to reload the whole project each time, which took way too long.
To work around this, I installed the standalone version of the Arduino CLI so I could do everything from the terminal without leaving VSCode.
The very first time you use a chip, you’ll need to program the bootloader using the following command. This step is already done for you if you’ve purchased an Arduino board, but not if you’re buying your own chips.
In my case, I’m using the same chip as an Arduino Uno so I put that in as the board name, and I’m using a USBTinyISP programmer, but you can substitute for any supported Arduino board name.
arduino-cli burn-bootloader --fqbn arduino:avr:uno -P usbtinyisp -vOnce the bootloader is loaded, I use the two following commands to build the sketch and then upload it to the chip. I like to use the verbose version of the command so I can see that something is going on.
arduino-cli compile --fqbn arduino:avr:uno -v
arduino-cli upload --fqbn arduino:avr:uno --programmer usbtinyisp -v
Here you go, a simple workflow to both work in Visual Studio Code and upload code to your chips using ISP.