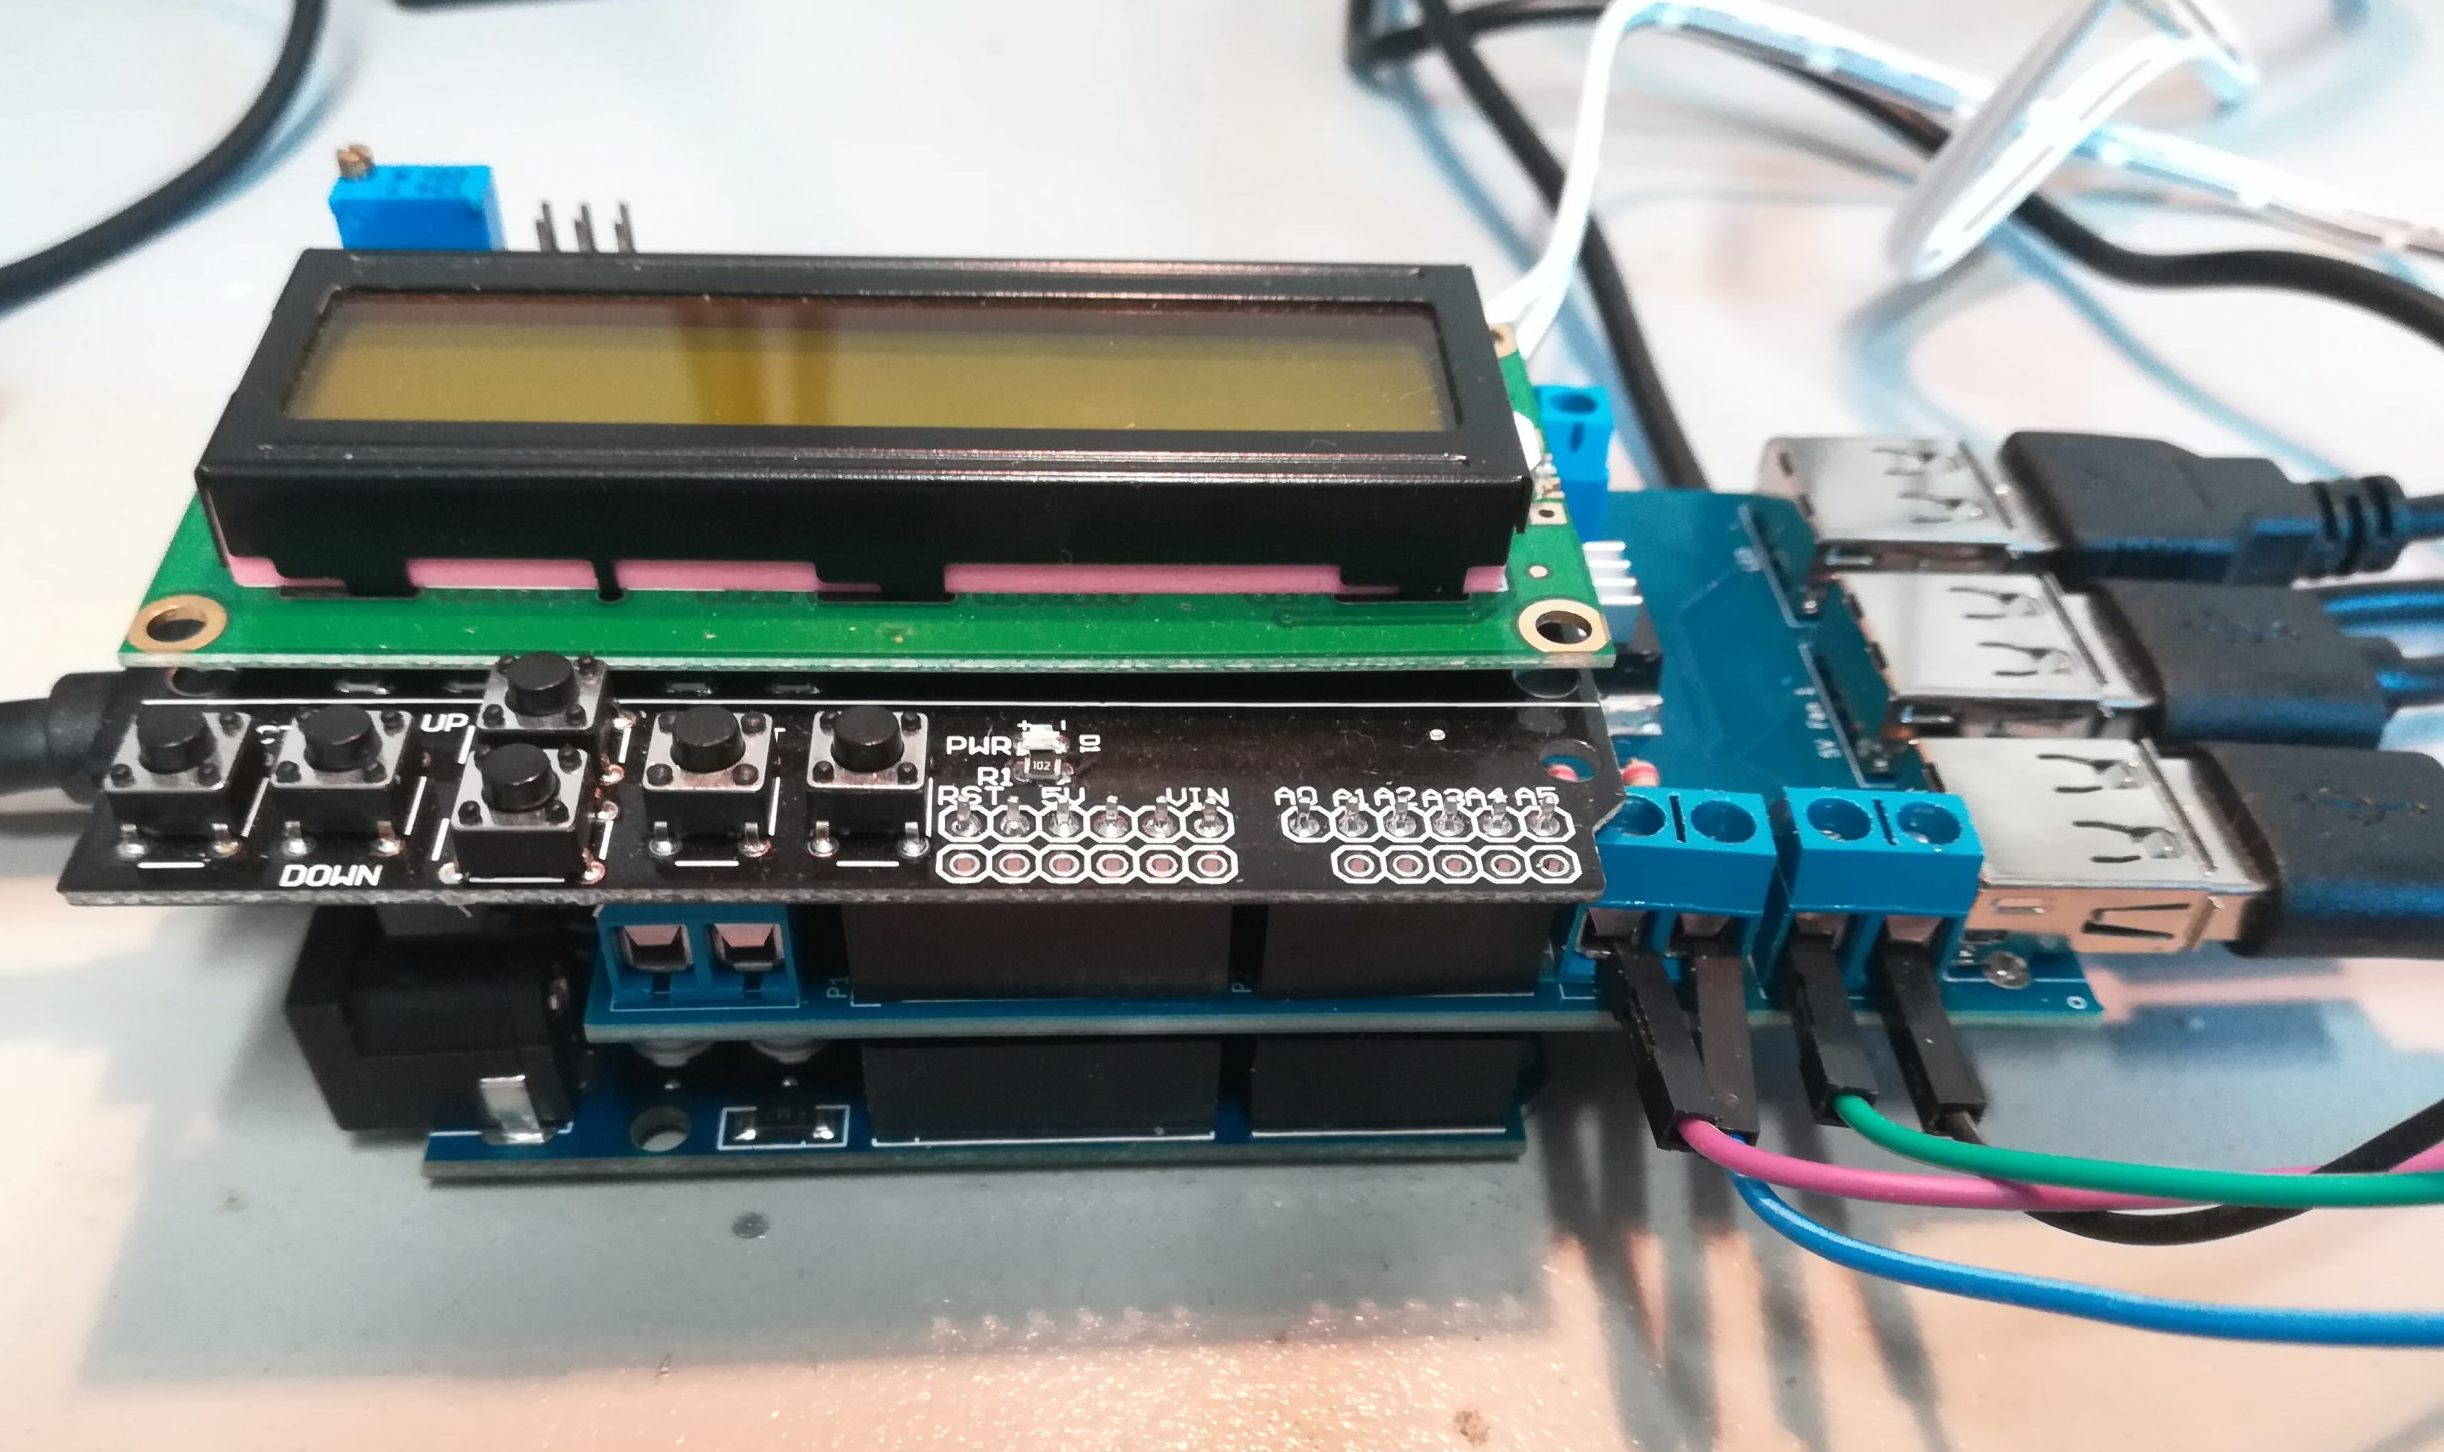
Arduino shields are a great way to expand the features of the standard Arduino by adding on new hardware. They are a specific kind of expansion module that are meant to be stacked on top of the Arduino, covering it completely.
In most cases, it also exposes the full set of pins from the Arduino, allowing for another shield to be stacked on top, or to plug in other devices.You can create your own shield, or chose from a variety of shields that are made by the community.
But how many Arduino shields can be stacked at once? There is no absolute limit to how many shields can be stacked, but once you know which shields you want to use, you’ll have a few things to consider to make sure you can stack them all.

Height of the components on the shields
The height available between each shield is limited by the height of the headers, and the designer needs to be careful about which components are used so they don’t touch the shield above (or below, if there are a few components hidden below the shield). You also need to be careful about connectors added to plug in other devices, which will add to the height when in use.
You can cheat and add extra headers for some spacing, but this will make the whole pile a bit more woobly even if you trim the pins as short as you can while still keeping a good connection.
Finally, many shields expect to be the first once at the top of the pile, and won’t play as nicely which other. This is understandable for shields such as LCD shields: you’ll want your display to be on top!
Pins used
All those shields will use the same set of pins from the Arduino: when plugged in, they will all be connected together. Some pins can be used without any problems by many devices such as i2c pins (given that they don’t have another problem, such as using the same address), but the input/output pins cannot be.
The only way to make sure you don’t have a conflict is to map out the pins used by each shield. You may be able to work around it if a part of the shield you’re not using, such as cutting a trace on the board, but that’s the part that requires the most planning.
Connectors between the shields
A shield that is meant to have other shields on top of them will have rows of female pins on top to keep stacking, in adding to the rows of male pins at the bottom. But in some cases, they will only have a row of male pins at the bottom.
If your shield doesn’t have the header setup you need and you don’t have any reason to keep it on top, it’s not usually a deal breaker if you have a soldering iron available to solder in a new header (a hot air station can also be a great help for removing the existing headers, but it’s not required).
Arduino resources required for your project
To round this up, the brain of your project is still the Arduino even if you stack on the shield, which has its own limits. For instance:
- It’s a small microcontroller that’s limited in the amount of processing it can handle. It’s not a computer! If you add in a lot of demanding devices processing-wise, at some point it won’t be able to handle it (by not reacting fast enough for example).
- The size of the program you can upload is also limited. If you need to pull in many libraries into your project, you’ll run out of space for them at some point, or for your own code.
- The amount of power the Arduino board can deliver to all those devices also has a limit, regardless of if you’re powering your project by the USB port or by an external power supply.
The whole idea of a shield is still great to prototype or build a project quickly, but it’s still a pile of hardware that has the same limits as if you build it yourself. It’s only a quicker and easier way to put together the hardware needed to test out your ideas.